I think to help keep myself motivated I will starting posting little "recaps" of my ADAW 2017 project. I figure I'll do these every five weeks or so. I guess we will see if I actually keep up with this haha. I enjoy talking about specific shoots and how I felt taking these photos. I think it's always good to reflect and think about things you'd like to improve on. So anyway, here is a recap for weeks 1 through 5 in my ADAW 2017 project.
Week 1
 |
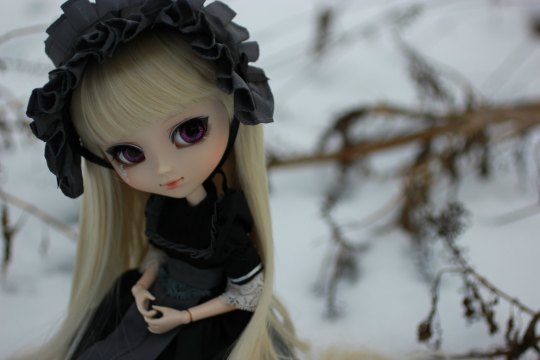
| " New Dawn " |
I decided to call this photo "New Dawn" because I feel like it marked the start of a new and inspiring time for me. I decided, sort of on a whim, that I would try to finish ADAW 2017. I haven't finished an ADAW project since 2013 even though I tried for the following years. I also lost motivation somehow. With this photo, I promised myself I wouldn't give in to anything and I would finish ADAW 2017.
Week 2
 |
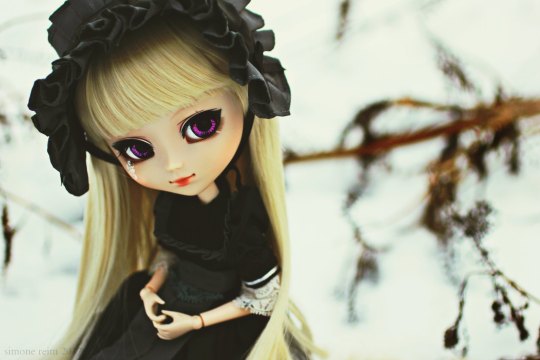
| " Branches In The Snow " |
For the second week I was lucky enough to finally have some snow to take photos in. It was the first snow of this winter and, even though it was sparse, I could resist running outside to take some photos. This shoot was a bit difficult for me for some reason. I wasn't happy with how my photos were turning out and I ended up moving around a lot. I really enjoy the end result though. I'm glad I didn't give in and I continued until I created something I was happy with.
Week 3
 |
| " One Thousand Cranes " |
I took this photo indoors one night, which is very unordinary for me. I really dislike taking photos indoors. I have a thousand paper cranes which my boyfriend folded me for Christmas. We are currently long-distance and it gets really difficult sometimes to be positive. When I decided to use the cranes in a photo, I was going through a particularly rough patch when it came to staying positive and productive. These cranes help me through the tough times. I made a whole post about this photo; if you're interested you can read it here. :)
Week 4
 |
| " Dull " |
Another shoot that I was struggling with was this one. I took two dolls outside and was intending on taking a couples photo of them, but it wasn't working out at all. I decided only to take photos of my Taeyang instead since I rarely photography my guy dolls alone. Taking the photos, I wasn't very happy with them. But, once I started editing, I ended up really enjoying this shot. I should photography this guy more often!
Week 5
 |
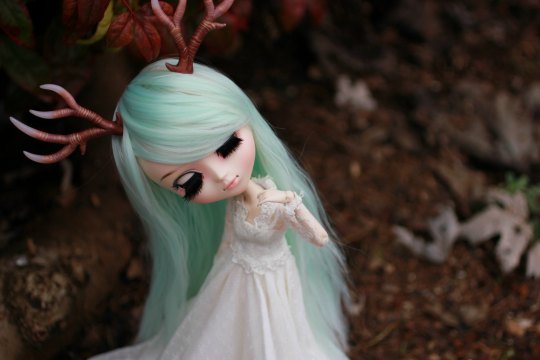
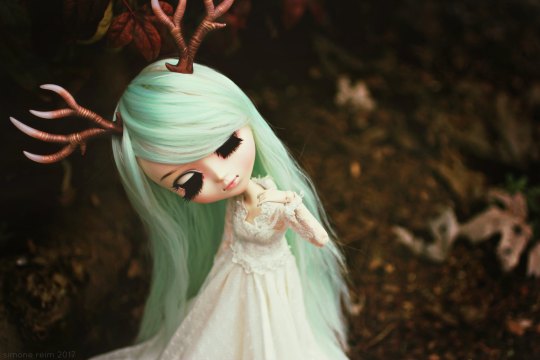
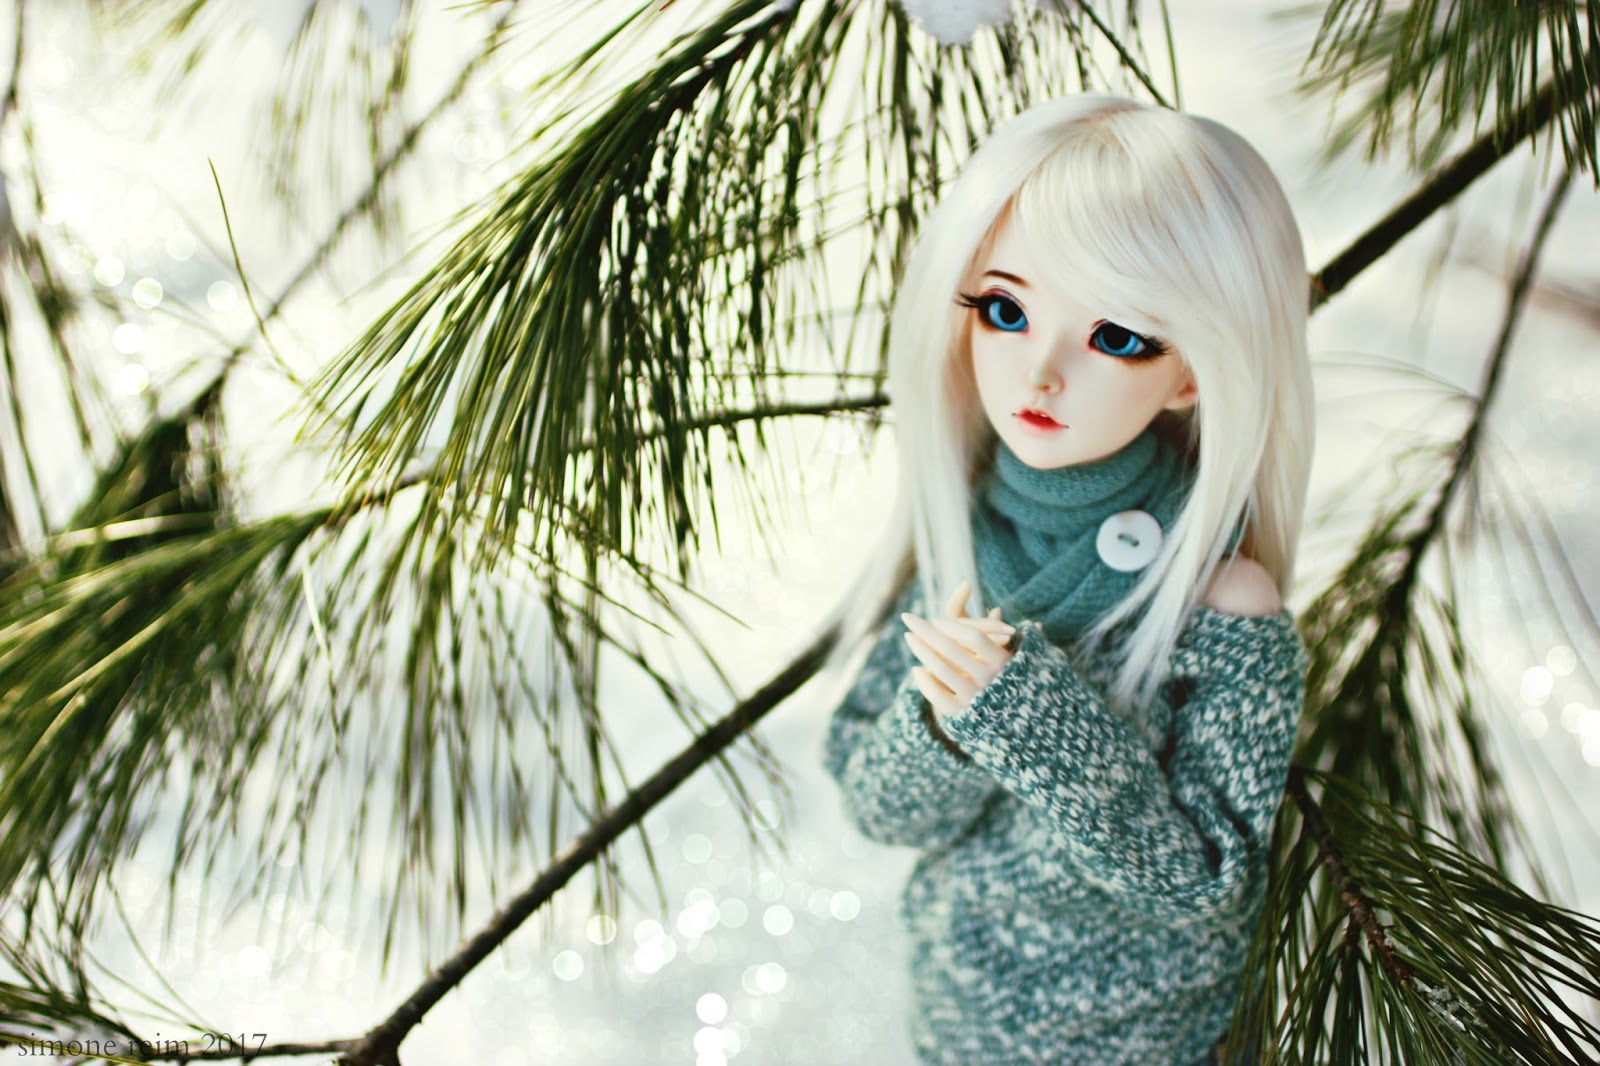
| " Reverie " |
The prep for this photo was a bit of a hassle as I had to repair my Nero's neck before I could start shooting. She has a very floppy head on account of her neck hole being unusually large. I bought her second hand and it looks like she has a bit of melting around the neck area. I had to take apart her head and wrap the neck peg of her Obitsu with a bit of yarn to help stabilize her. It was sort of a quick-fix and I'll have to go back in and repair it more thoroughly. Anyway, I had fun taking this photo once I finished her repair job. I don't normally get too involved when taking photos and usually I just go with whatever is around, but today I moved some branches and twigs around to take this. I wanted more layers of brush, I guess, to be visible. In doing so I ended up with a burr in my backside, but it was totally worth it ;)
Well, that is it for the first ADAW 2017 recap! I look forward to making more in the future :) See you soon!


 I almost always make my focal point a doll's face. As you can see, the top right point is on the doll's chin. Just keep your focal point in the general area of the intersection and you're good to go! Eventually you'll get so used to shooting with your focal point on one of the four points that it will become second nature and you'll end up having to crop your photos less and less.
 In this photo, the focus is on Mei, my Pullip Merl. The two dolls that are out of focus are standing in the foreground, Mei is standing in the middleground, and behind her lay the rocks that are the background. Another good way to experiment with depth is to place your doll in the middle of some flowers. Take a photo from an angle where there are flowers in front of, beside, and behind your doll all at once.
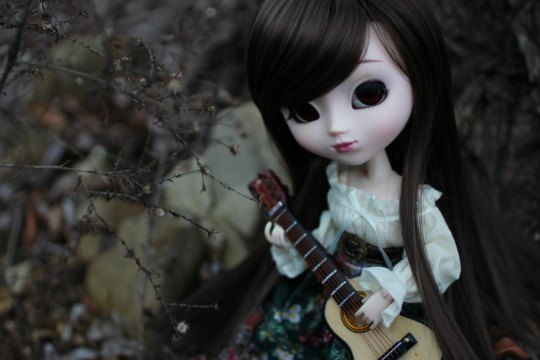
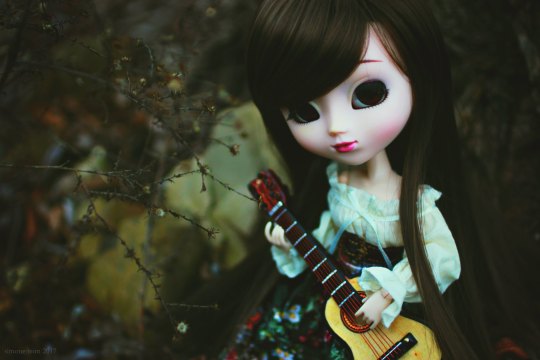
 This was taken in late January when all the snow had melted and the grass was still dead. Sure, dead grass looks ugly as a subject, but as a background for a doll dressed in earthy tones, it's perfect! The browns in her hair, skin, and guitar reflect the browns in the background, and the brownish-green of her skirt brings out the green in the background. Here's another example. This doll has
 honey colored hair, an orange, red, and yellow dress, and skin with a pink undertone. The bushes in the background and the leaves are all a warm orange-brown which goes with the oranges and pinks of this doll's clothes, hair, and skin. But why do the colors in these photos look so good together? Because of warm and cool colors. What are the warm and cool colors, you ask? Blue, green, and purple are the cool colors. Red (and pink), yellow, and orange are the warm colors. This is super easy to remember if you think of a fire and how it burns in reds, oranges, and yellows. The fire is warm, so those colors are warm! Everything else is cool! But what about browns, right? The browns are what tie these photos together. Brown can be either a warm or cool color, depending on the shade of brown. A brown that has blue undertones is cool, and a brown that has red undertones is warm.
 As you can see, she is sitting on a ledge looking into the camera. Cute, right? But that's it. It's just cute. There's nothing wrong with cute, but there's also nothing dynamic about it, either. If you want to catch someone's attention, you can't always have your dolls sitting down staring blankly into the camera! Now look at the next image- It's the same doll (all that's been changed are her eyes and her outfit), but look at how different it looks! Yes, the editing is different, but when speaking in terms of the doll and her pose, it looks so much better! She's standing up here (I had to prop her against a wall) and she's got her arms up and hands together. She's looking off to the right and is
  leaning back a bit. It's different and it's mysterious! It makes you wonder what she's looking at behind the camera. Simple changes in the way you pose your doll can make a huge difference in the way your doll looks, too. When you give your doll a more natural pose you give them (and the photo) so much more life!
 I've found that one prop is usually enough to add some cute detail without it becoming a distraction or adding unnecessary clutter. The first image shows an overuse of props. These tiny instruments are absolutely adorable, but they're just sitting there and aren't adding anything to the photo. Another mistake this photo shows is the lack of interaction between the doll and the prop(s). She isn't even holding one! Seems like kind of a waste of space, right?
 ere are two good uses of props. The first is one prop- a small red plate. The doll is interacting with the plate and it matches the red and white color scheme! The second shows a photo with more than one prop- a shopping cart, headphones, and a backpack with a skateboard.