

Hello hello! I'm still waiting on my new bottles of sealant which is driving me crazy. I'd really love to finish up the girls I have partially done and start new ones as well. In the mean time I decided to work on trying to salvage some other dolls I have laying around. I have about 15 dolls that are what you'd consider "custom bait". They have damaged face paint, missing parts, or fried hair- perfect for wiping and starting fresh. In this post I want to talk about the best way I know how to fix up greasy doll hair.

I'm sure anyone who is interested in vinyl dolls is familiar with the awful state their hair is often in when unboxed. Above is an example of a horrible case. Sometimes it's so greasy that it can't be saved and it needs to be chopped all off. It's such a hassle to have to remove hair and replace it with a reroot or a wig so I like to try my best to fix it.

There are a few methods to removing the grease. I think the most popular is probably the baby powder method, shown above. By sprinkling baby powder in the doll's hair and brushing it through it's able to absorb some of the grease and remove most of the sticky feeling. Although this method works most of the time, I really disliked the idea that whatever residue which caused the doll's hair to get greasy was still in there and was only masked by the baby powder. Below is a photo of what the hair looks like after I've brushed a few coats of baby powder through it. As you can see, it's still stringy and, even though it looks a lot better, it still feels sticky. Also, the baby powder is so hard to brush through dark hair like Draculaura's. It's always visible no matter how much I work it through the hair. It makes dolls with dark hair look dusty and dirty.
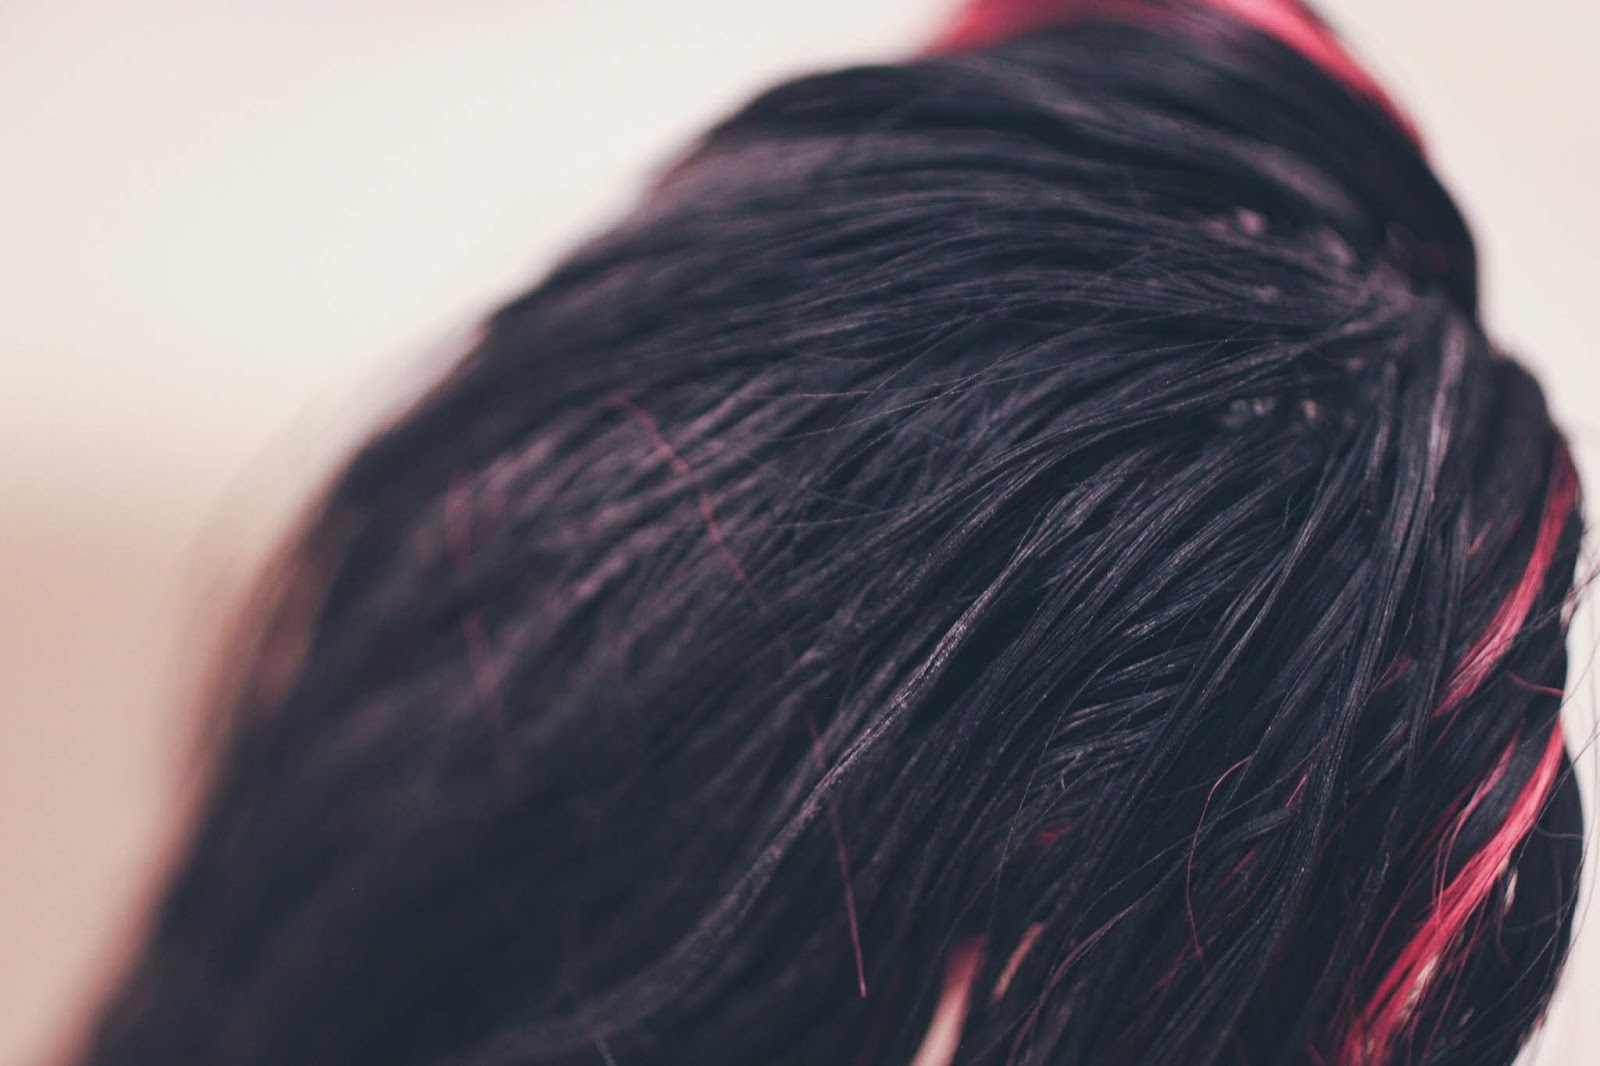
I decided to try something new. Ater brushing baby powder through the dolls' hair I doused it with rubbing alcohol and then rinsed. It actually got most of the remaining residue out. I repeated this twice on Clawdeen and her hair turned out almost new. I'm actually very shocked! It's almost like it was never greasy to begin with. Here are some photos of what the hair looks like after the two rounds of the baby powder and rubbing alcohol "treatment".


There is no more sticky residue and the hair is separated and isn't stringy. It looks as good as new! This seems to be a fix to the stubborn grease problem. My exact steps were....
- Brush out and remove tangles in the greasy hair as best as possible
- Optional: use boiling water to straighten the hair and let dry
- Sprinkle baby powder generously on hair and brush through. Repeat until it's no longer sticky
- Saturate hair with rubbing alcohol and brush through
- Rinse with warm water
- Repeat as needed
It's a super simple process that really makes a huge difference in the quality of your doll's hair. It might be hard to tell from the photos, but it feels so much better! I think I'll continue using this method to fix my dolls' hair in the future. It'll definitely save me from having to rewig or reroot a lot of dolls!
I hope this was helpful to someone looking for a better solution to the greasy hair problem! :)

 I almost always make my focal point a doll's face. As you can see, the top right point is on the doll's chin. Just keep your focal point in the general area of the intersection and you're good to go! Eventually you'll get so used to shooting with your focal point on one of the four points that it will become second nature and you'll end up having to crop your photos less and less.
 In this photo, the focus is on Mei, my Pullip Merl. The two dolls that are out of focus are standing in the foreground, Mei is standing in the middleground, and behind her lay the rocks that are the background. Another good way to experiment with depth is to place your doll in the middle of some flowers. Take a photo from an angle where there are flowers in front of, beside, and behind your doll all at once.
 This was taken in late January when all the snow had melted and the grass was still dead. Sure, dead grass looks ugly as a subject, but as a background for a doll dressed in earthy tones, it's perfect! The browns in her hair, skin, and guitar reflect the browns in the background, and the brownish-green of her skirt brings out the green in the background. Here's another example. This doll has
 honey colored hair, an orange, red, and yellow dress, and skin with a pink undertone. The bushes in the background and the leaves are all a warm orange-brown which goes with the oranges and pinks of this doll's clothes, hair, and skin. But why do the colors in these photos look so good together? Because of warm and cool colors. What are the warm and cool colors, you ask? Blue, green, and purple are the cool colors. Red (and pink), yellow, and orange are the warm colors. This is super easy to remember if you think of a fire and how it burns in reds, oranges, and yellows. The fire is warm, so those colors are warm! Everything else is cool! But what about browns, right? The browns are what tie these photos together. Brown can be either a warm or cool color, depending on the shade of brown. A brown that has blue undertones is cool, and a brown that has red undertones is warm.
 As you can see, she is sitting on a ledge looking into the camera. Cute, right? But that's it. It's just cute. There's nothing wrong with cute, but there's also nothing dynamic about it, either. If you want to catch someone's attention, you can't always have your dolls sitting down staring blankly into the camera! Now look at the next image- It's the same doll (all that's been changed are her eyes and her outfit), but look at how different it looks! Yes, the editing is different, but when speaking in terms of the doll and her pose, it looks so much better! She's standing up here (I had to prop her against a wall) and she's got her arms up and hands together. She's looking off to the right and is
  leaning back a bit. It's different and it's mysterious! It makes you wonder what she's looking at behind the camera. Simple changes in the way you pose your doll can make a huge difference in the way your doll looks, too. When you give your doll a more natural pose you give them (and the photo) so much more life!
 I've found that one prop is usually enough to add some cute detail without it becoming a distraction or adding unnecessary clutter. The first image shows an overuse of props. These tiny instruments are absolutely adorable, but they're just sitting there and aren't adding anything to the photo. Another mistake this photo shows is the lack of interaction between the doll and the prop(s). She isn't even holding one! Seems like kind of a waste of space, right?
 ere are two good uses of props. The first is one prop- a small red plate. The doll is interacting with the plate and it matches the red and white color scheme! The second shows a photo with more than one prop- a shopping cart, headphones, and a backpack with a skateboard.


